Swiss Meringue Buttercream Recipe & Tutorial
- Paintingwithsugar
- Nov 1, 2023
- 4 min read
Updated: Dec 29, 2023

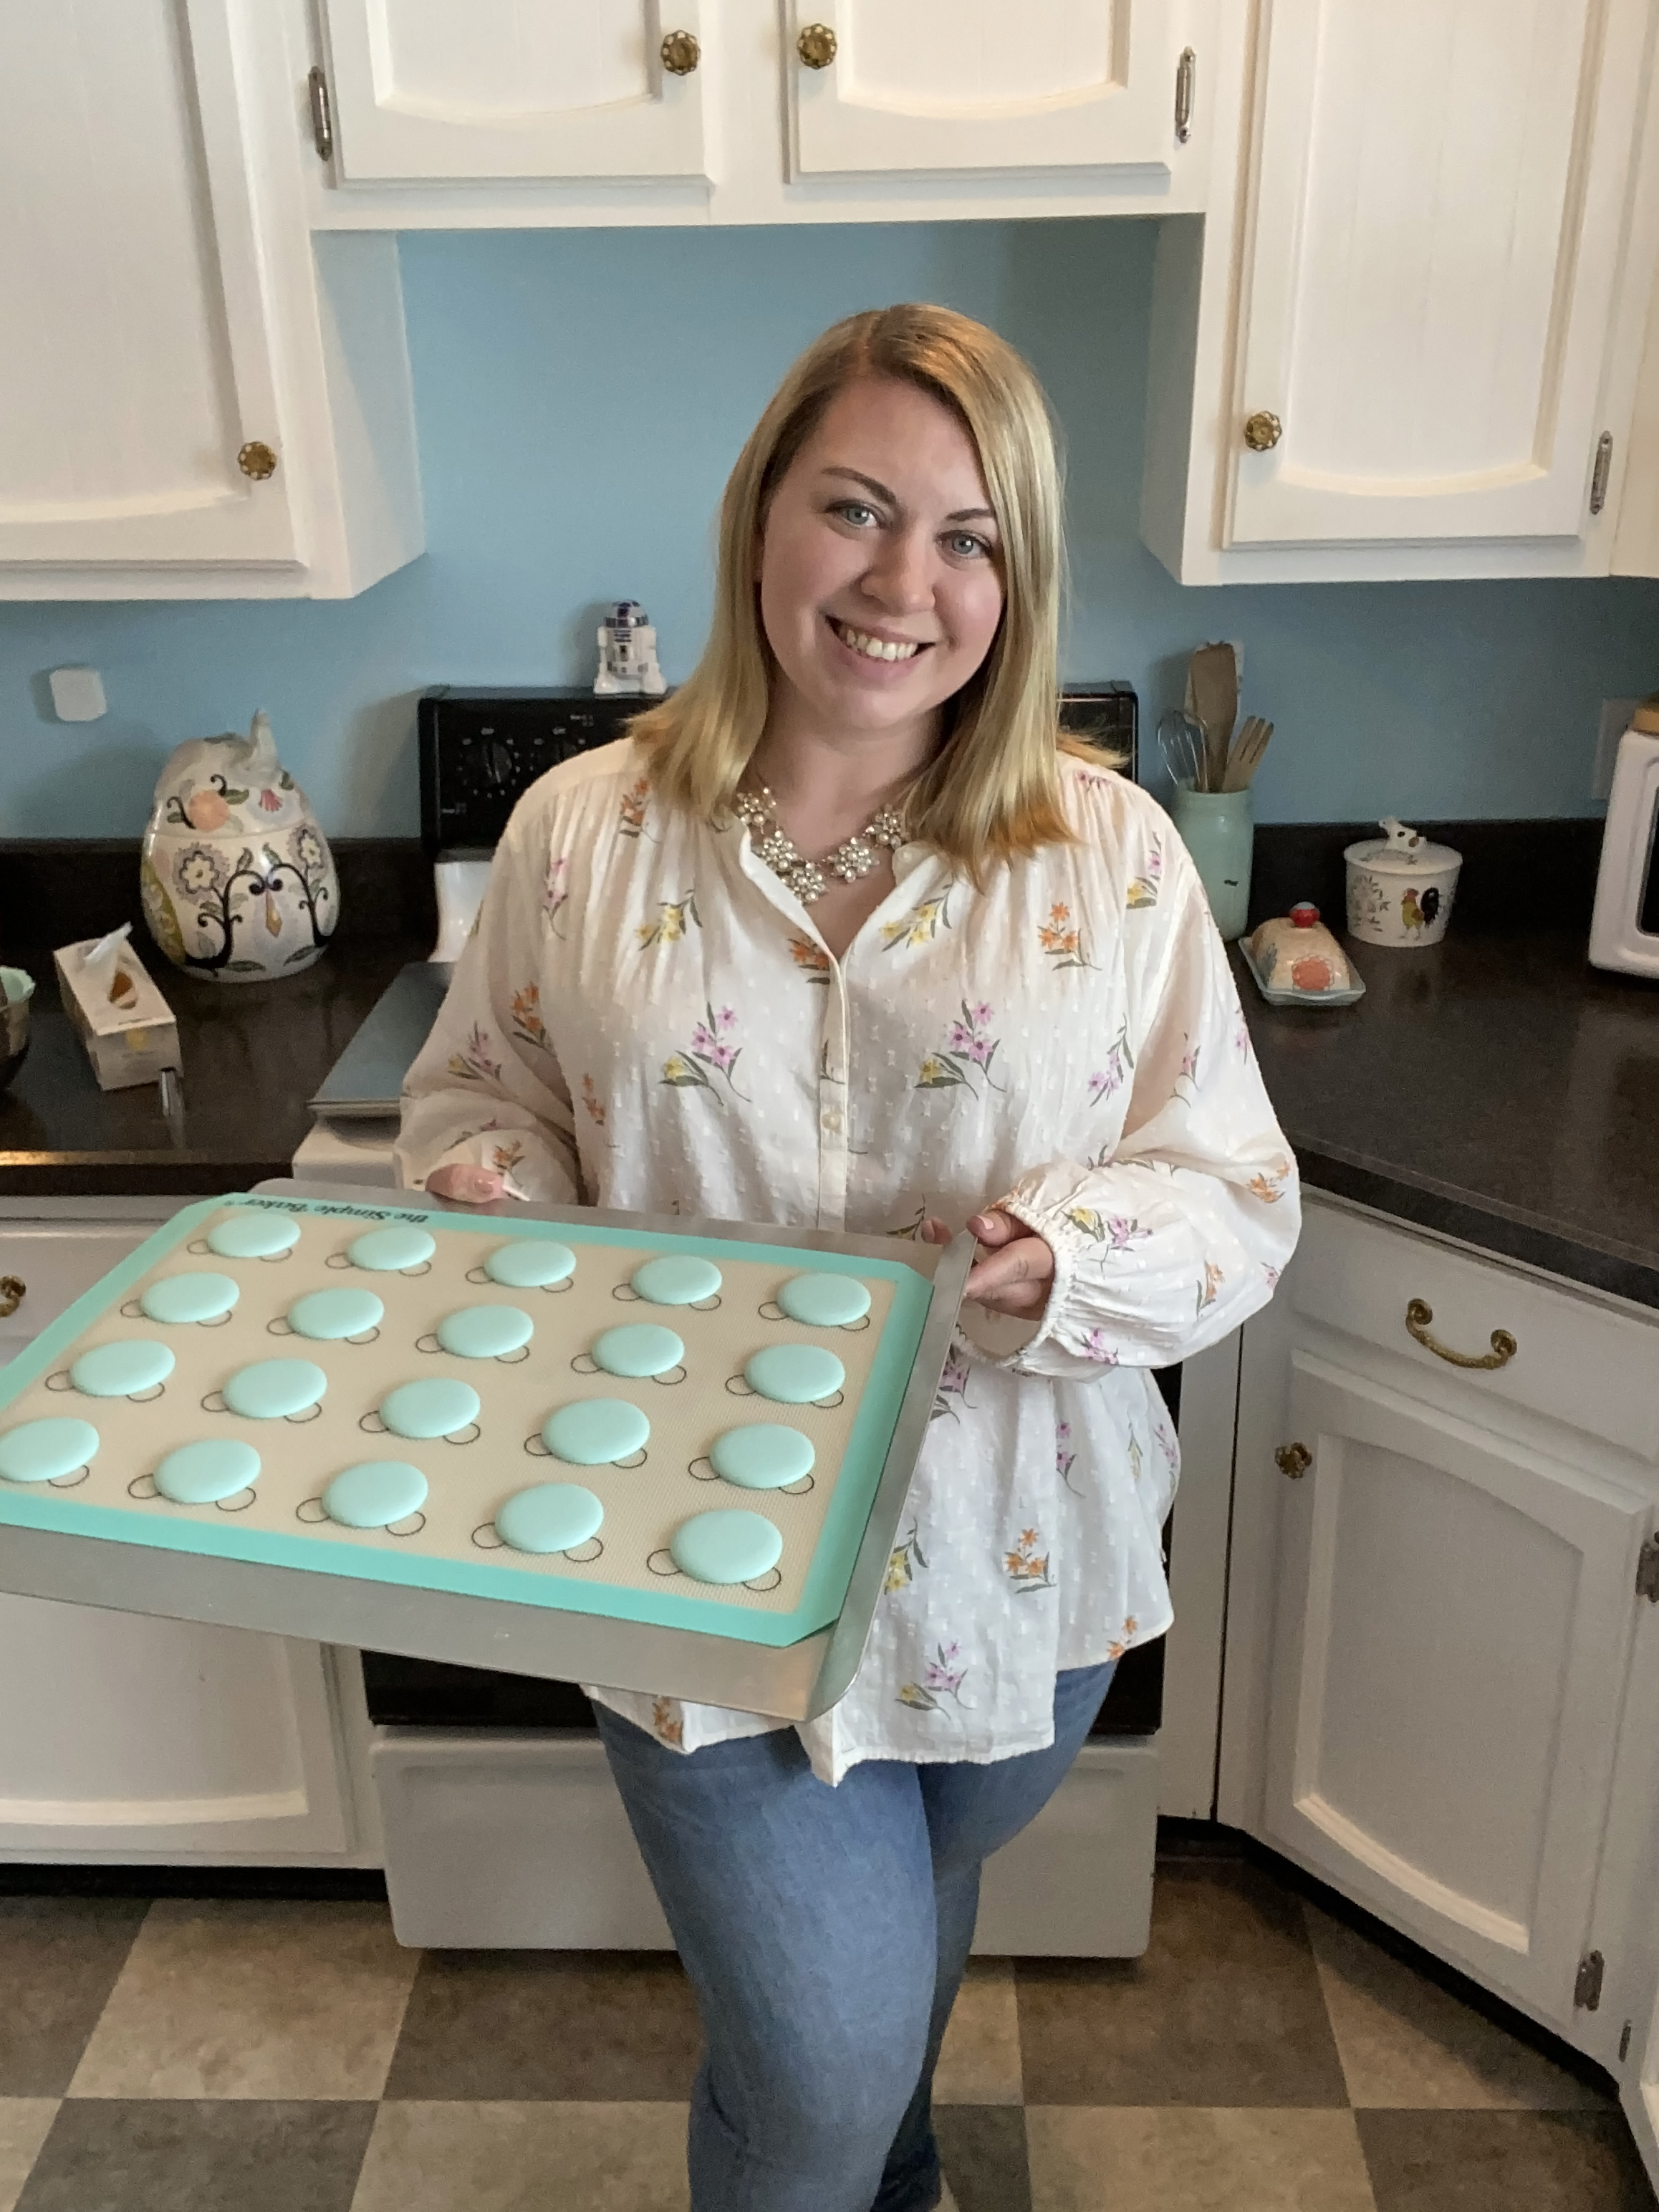
Let's make Swiss Meringue Buttercream together!
Swiss Meringue Buttercream is one of our staple buttercreams here at Painting With Sugar. We use it to fill most of our signature cakes and it's our absolute favorite to paint with because it feels so similar to an old love of ours, oil paint. It stays soft and workable for these intricate decorations that take more on the cake working time than others. At the bottom of this post you will find our exact recipe, including a note for making chocolate variation, which we highly recommend!
Before getting started, gather all of your materials and lay out all of your ingredients 30 minutes prior to allow everything to come to room temperature. Wash bowls, utensils and mixer attachments in hot soapy water to remove any grease that may be left behind by previous baking endeavors. Greasy residue is one of the few things that can cause this recipe to fail as it will prevent the egg whites from reaching soft peak stage.
Ready? Perfect, let's go!
First you need to mix your egg whites with your sugar in a double boiler over low-medium heat and whisk gently until all sugar crystals have dissolved. If you do not have a double boiler use a small metal bowl and a saucepan it fits in without touching the bottom. Bring a small amount of water to a simmer beneath your bowl and keep a close eye on things to prevent those egg whites from cooking. Remember to protect your hands from steam.

Once all the sugar crystals are dissolved, wipe the bottom of your bowl to remove condensation and pour the mixture into your stand mixer bowl. Don't skip the wipe, condensation can also cause your meringue to not whip properly. Fit with wire whisk and whip on medium until soft peaks form.
Soft peaks look like this. Your mixture will hold a shape when you dunk and remove your whisk attachment and have a soft curl at the tip which falls back against itself.
Once you've reached soft peak stage, it's time to add your vanilla and butter. Small pieces of butter are best, I find it's easiest to chop it all cold then allow it to soften.

Fit your mixer with the paddle attachment, then add your butter pieces and vanilla. Whip again until creamy. If you are making a chocolate variation, this is also when you add the cocoa powder.
Please Note! If this happens and your buttercream begins to look curdled, don't freak out! It's part of the process and it's going to be fine; just keep whipping!

When the entire mixture reaches a uniform temperature these blobs will melt away leaving you with an impossibly silky smooth buttercream frosting.
Troubleshooting: If you've been mixing for over 8 minutes and you've still got curdled looking cream, take a small amount of the frosting (start with half a cup) out of the bowl and microwave it for a few seconds, it's ok if edges melt a bit but you don't want it to be completely liquid. Scrape the warmed buttercream back into mixing bowl and continue mixing, this should warm up the rest of your buttercream just enough to help it combine after a few minutes.
Conversely, if you are baking on a hot day and you've been mixing away only to have buttercream soup, it's time to take your mixing bowl and pop it in the fridge for 5-10 minutes. Once it has cooled a bit, begin mixing again and it should all come together for you.
You may need to repeat these troubleshooting steps a couple times to get the temperature of your buttercream just right but I promise it will come together with patience, and it will be worth it! If you start to get frustrated it's best to walk away, just leave it on the counter or leave it in the fridge depending on the issue you are having and come back in an hour to mix again.
Prevention: Ideally you will be making this buttercream with room temperature ingredients and your room temperature will be 72 degrees; under these conditions Swiss meringue buttercream will come together effortlessly. But with the troubleshooting tips above you can take on this delectable frosting under almost any conditions.
Notes:
-This is not a crusting buttercream, it remains soft and workable, but does hold a shape for piping or palette knife work. This is our preferred buttercream for painting on cakes and for our buttercream fillings!
-This buttercream is not overly sweet, but it is decadently buttery and for this reason we prefer salted butter for depth of flavor. We know unsalted butter is the go to in the world of frostings, but this is just something we whole heartedly disagree with lol. All of our buttercreams and baked goods are made with salted buttercream.
-Depending on your comfort level, you can use either pasturized egg whites from a carton or fresh egg whites. We use pasteurized egg whites in our Swiss Meringue Buttercream to comply with food safety regulations for our homestead business license.
-This buttercream can be stored in the fridge for up to one week and frozen for up to 3 months. Cakes filled and frosted in Swiss Meringue Buttercream can be left at room temperature for up to 2 days, but if you prefer to refrigerate ensure you allow cake to warm to room temperature for a couple hours before serving for best eating experience.

Swiss Meringue Buttercream Recipe:
Yield 3 cups (Frost and fill a 6" cake or 2 dozen cupcakes)
120g (4 large) egg whites, pasteurized or fresh
206g (1 cup) sugar
3 sticks plus 2 tablespoons butter, softened
1 teaspoon vanilla extract
*Add ¼ cup cocoa powder for chocolate variation
Equipment needed:
Double boiler or saucepan and stainless steel bowl that fits into the top without touching the bottom of the pan
Whisk
Silicone Spatula
Stand Mixer with whisk and paddle attachment (handheld mixers are ok but can take longer to whip, hand whipping is also possible and we salute you if you can manage it)
Instructions:
Chop your butter into small pieces. It can be easier to do this with cold butter, then allow it to soften once cut up.
Combine sugar and egg whites on the stove in a double boiler over simmering water, whisking until all sugar granules have dissolved.
Taking care to wipe any condensation from your cooking vessel, transfer mixture to stand mixer bowl, fitted with whisk attachment and whip until soft peaks form.
Add vanilla and butter (and cocoa powder if making chocolate), fit mixer with paddle attachment and whip until smooth and creamy.
See Troubleshooting and notes above.
Comments